Gel Nails Kit
Welcome to our comprehensive guide on using, choosing, and maintaining gel nails kits! In this article, we'll cover everything you need to know to achieve salon-quality gel nails at home.
Key Takeaways
- Choose a gel nails kit that suits your nail type and desired finish.
- Prep your nails before application for long-lasting results.
- Use a base coat and top coat to protect your nails and extend wear.
- Finish with a good quality top coat to seal in your design.
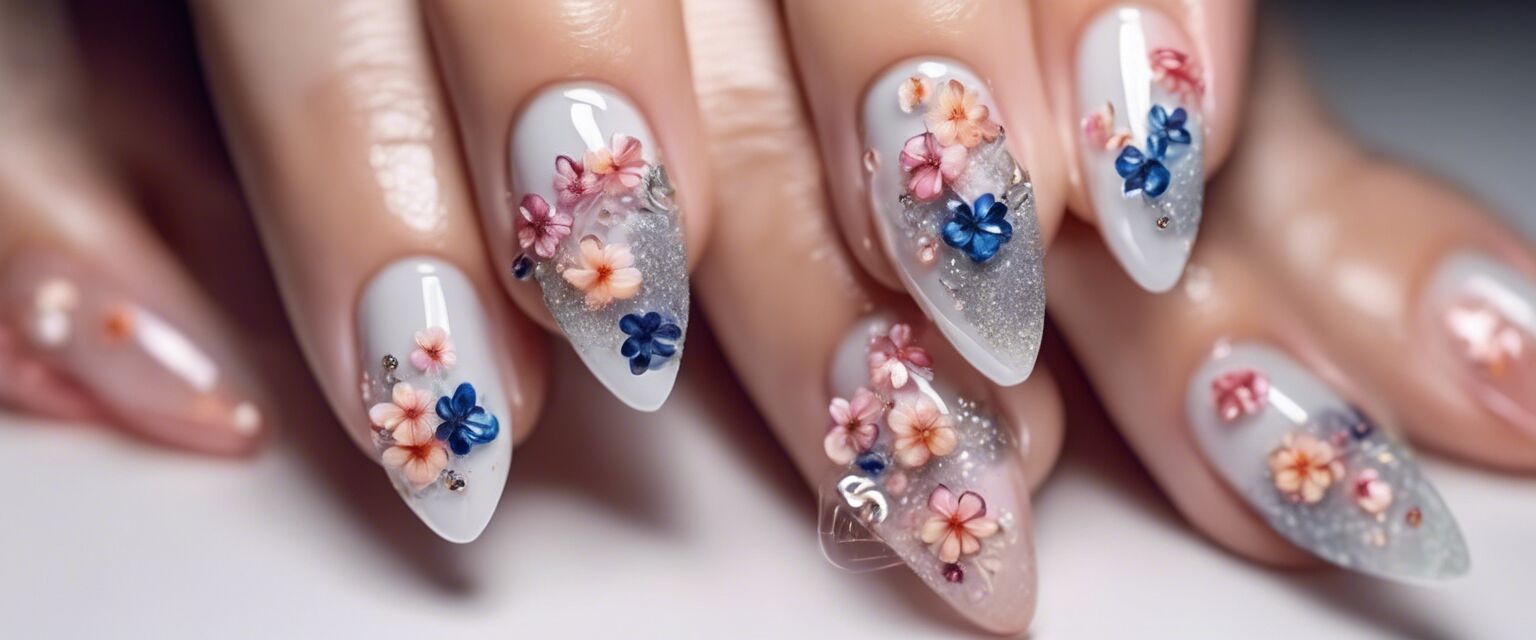
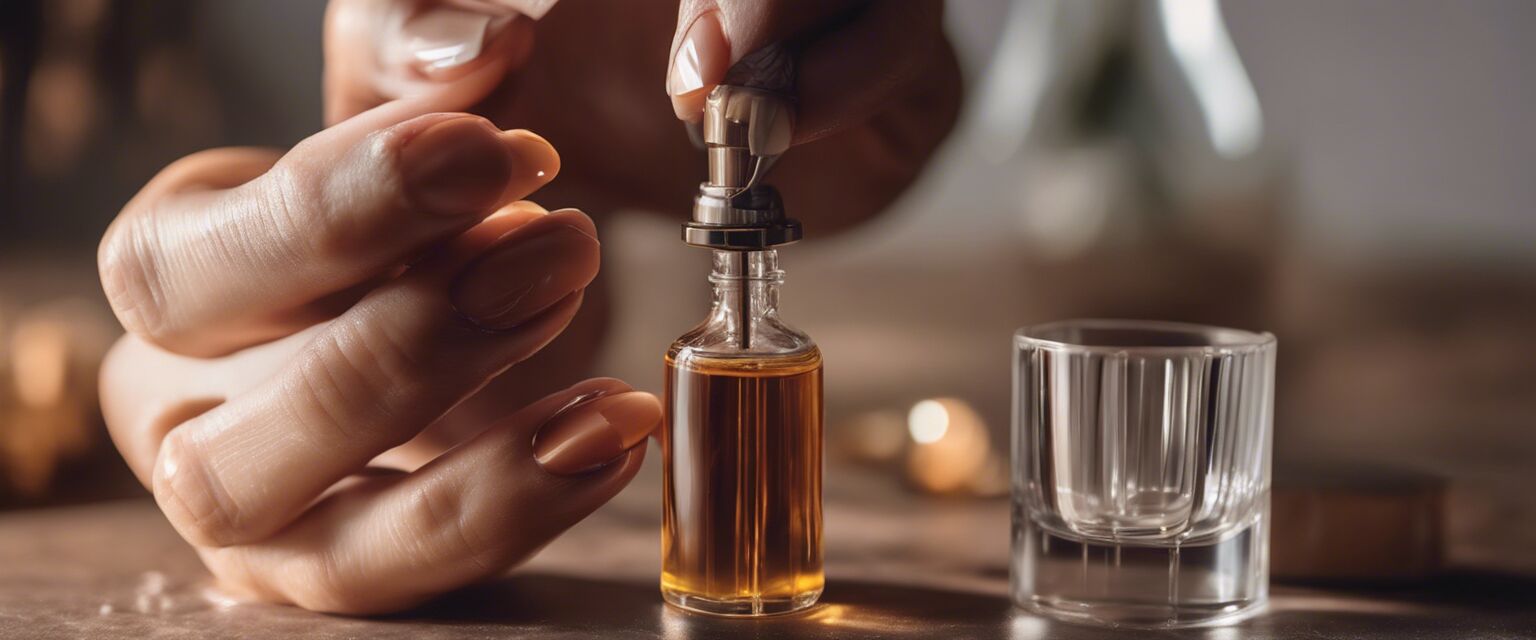
What is a Gel Nails Kit?
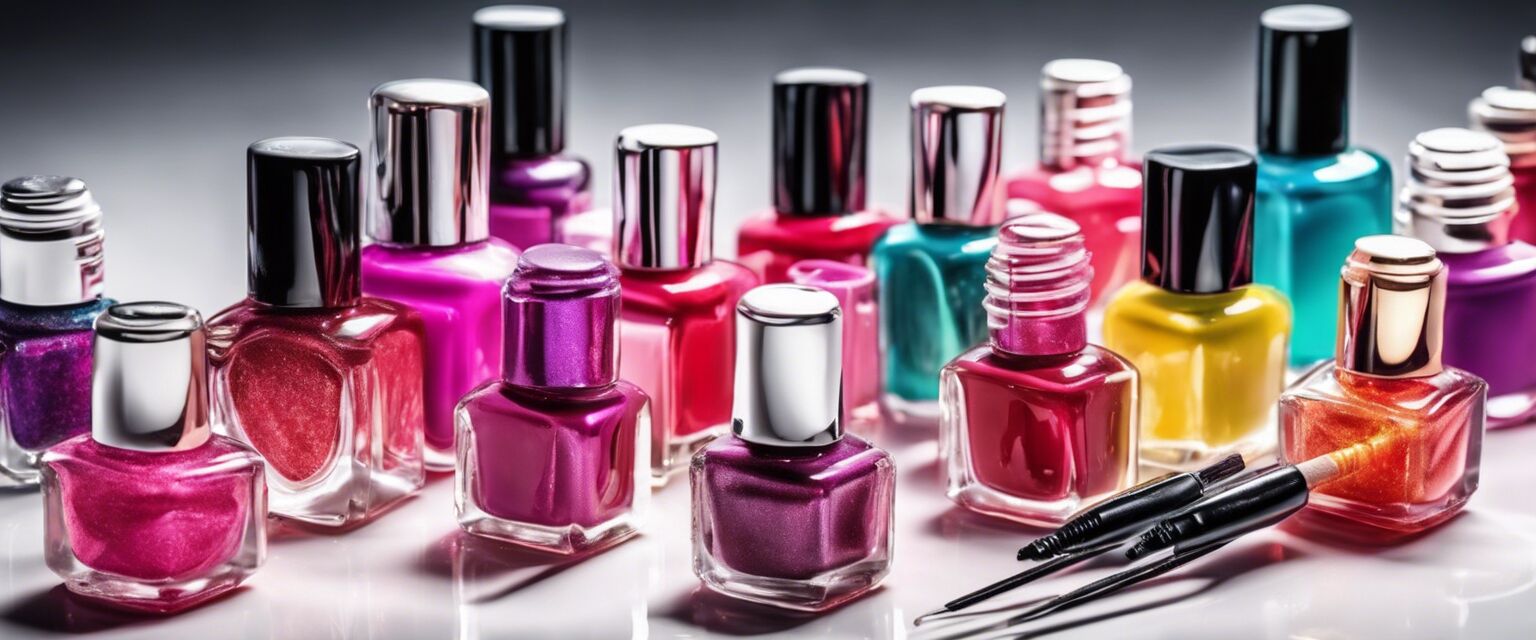
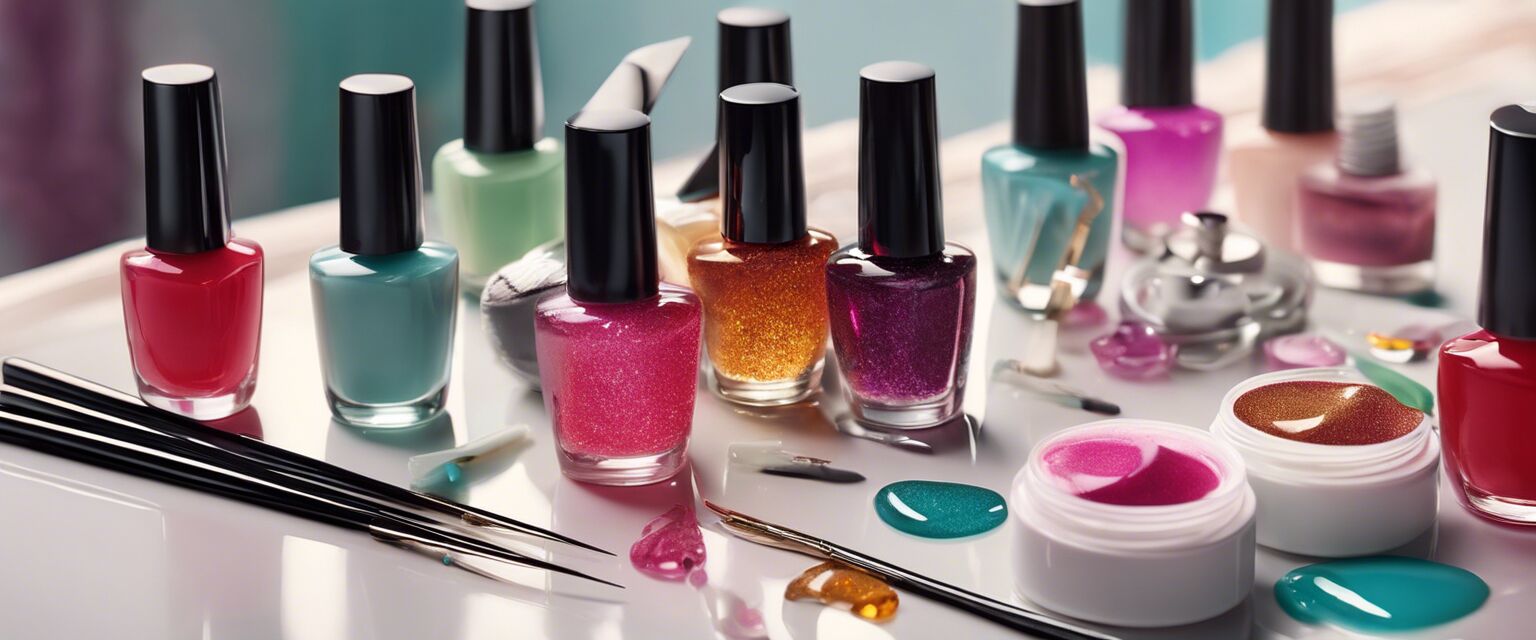
A gel nails kit is a collection of products and tools designed to help you achieve professional-looking gel nails at home. These kits usually include a gel polish, a base coat, a top coat, and sometimes additional tools like nail cleansers and brushes.
| Gel Nails Kit Type | Description | Price Range |
|---|---|---|
| Basic | Includes gel polish, base coat, and top coat. | $20-$50 |
| Deluxe | Includes gel polish, base coat, top coat, and additional tools like nail cleansers and brushes. | $50-$100 |
| Professional | Includes high-end gel polish, base coat, top coat, and advanced tools like LED lamps. | $100-$200 |
How to Choose the Right Gel Nails Kit
When choosing a gel nails kit, consider your nail type, desired finish, and personal preferences. Here are some factors to consider:
- Nail type: If you have weak or brittle nails, look for a kit that includes a nourishing base coat.
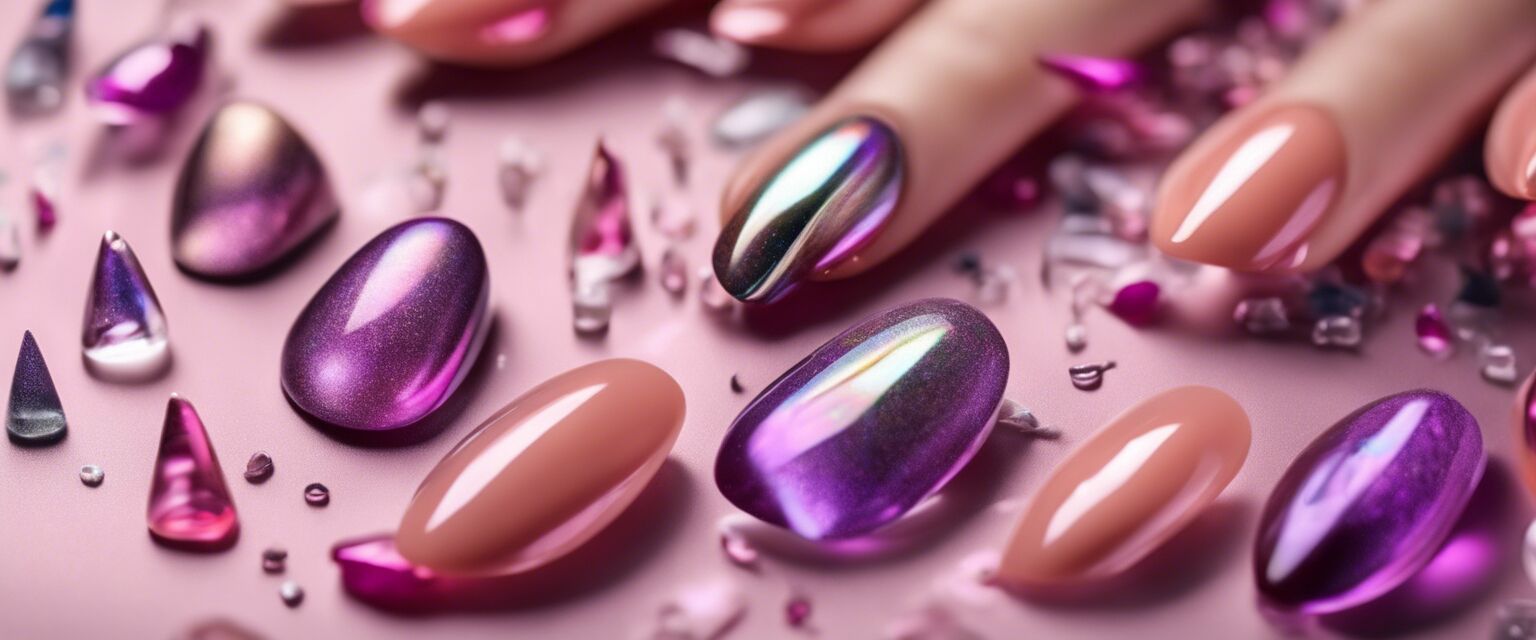
- Desired finish: If you want a high-gloss finish, look for a kit that includes a high-shine top coat.
- Personal preferences: If you're a beginner, look for a kit that includes easy-to-follow instructions and a user-friendly formula.

How to Use a Gel Nails Kit
Using a gel nails kit is a straightforward process that requires some patience and practice. Here's a step-by-step guide:
- Prep your nails by cleaning and shaping them.
- Apply a thin layer of base coat and cure with a LED lamp.
- Apply a thin layer of gel polish and cure with a LED lamp.
- Apply a thin layer of top coat and cure with a LED lamp.
- Finish with a good quality top coat to seal in your design.
How to Maintain Your Gel Nails
To extend the wear of your gel nails, follow these maintenance tips:
- Avoid using harsh chemicals or detergents.
- Moisturize your cuticles and nails regularly.
- Avoid biting or picking at your nails.
Pros
- Long-lasting results
- Salon-quality finish
- Easy to use
Cons
- Removal can be difficult
- May cause nail damage if not applied correctly
- Can be expensive
Conclusion
With the right gel nails kit and some practice, you can achieve salon-quality gel nails at home. Remember to choose a kit that suits your nail type and desired finish, and follow proper application and maintenance techniques to extend the wear of your gel nails.
For more information on gel nails, check out our guides on Gel Nail Tips, Gel Nails Polish, and LED Lamps for Nails.

Happy gel nailing!
Beginners Section
- Start with a basic gel nails kit and practice before moving to more advanced techniques.
- Watch YouTube tutorials or online guides for inspiration and instruction.
- Don't be discouraged if you don't get it right the first time - practice makes perfect!