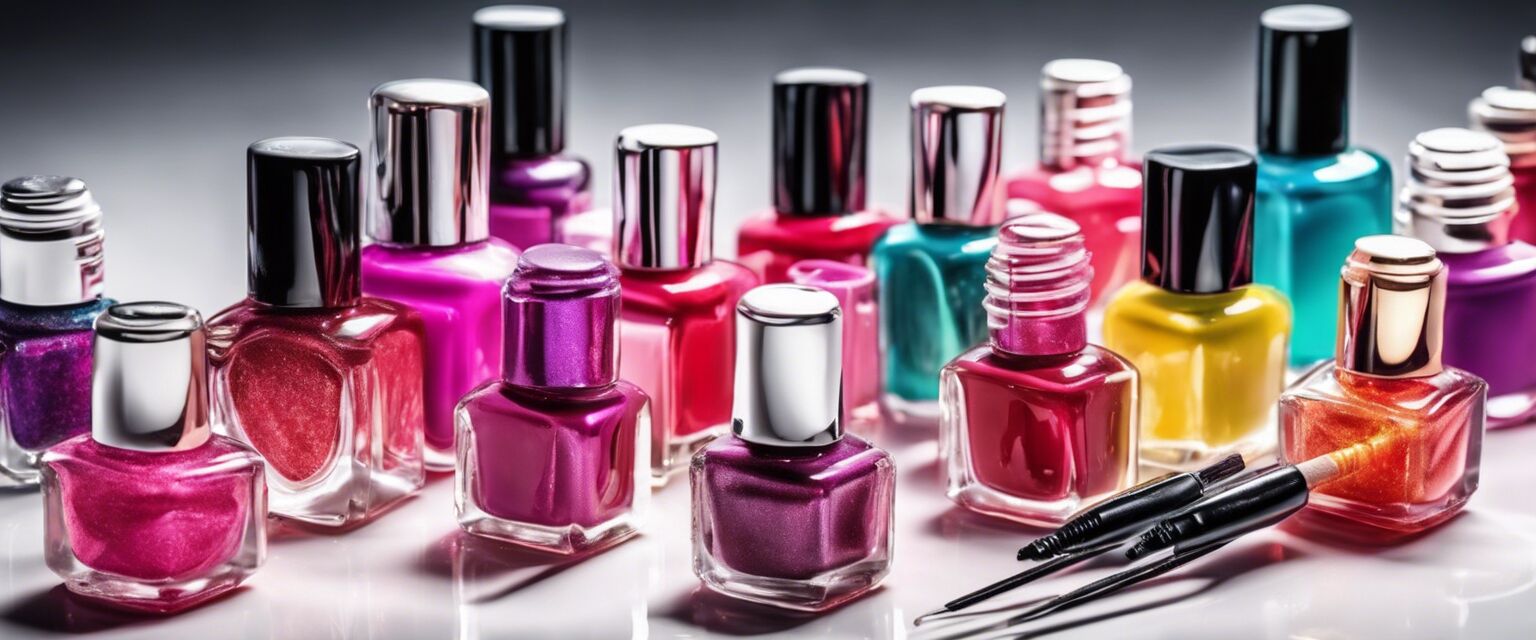
Gel Nails Tools
In the world of gel nails, having the right tools can make all the difference between a salon-quality manicure and a less-than-perfect one. This guide will provide you with essential information about the various tools needed for gel nail applications, their uses, and tips for achieving the best results.
Key Takeaways
- Essential tools include LED lamps, nail tips, and files.
- Proper maintenance of tools enhances their lifespan and functionality.
- Understanding how to use each tool correctly is crucial for a great finish.
Understanding Gel Nails Tools
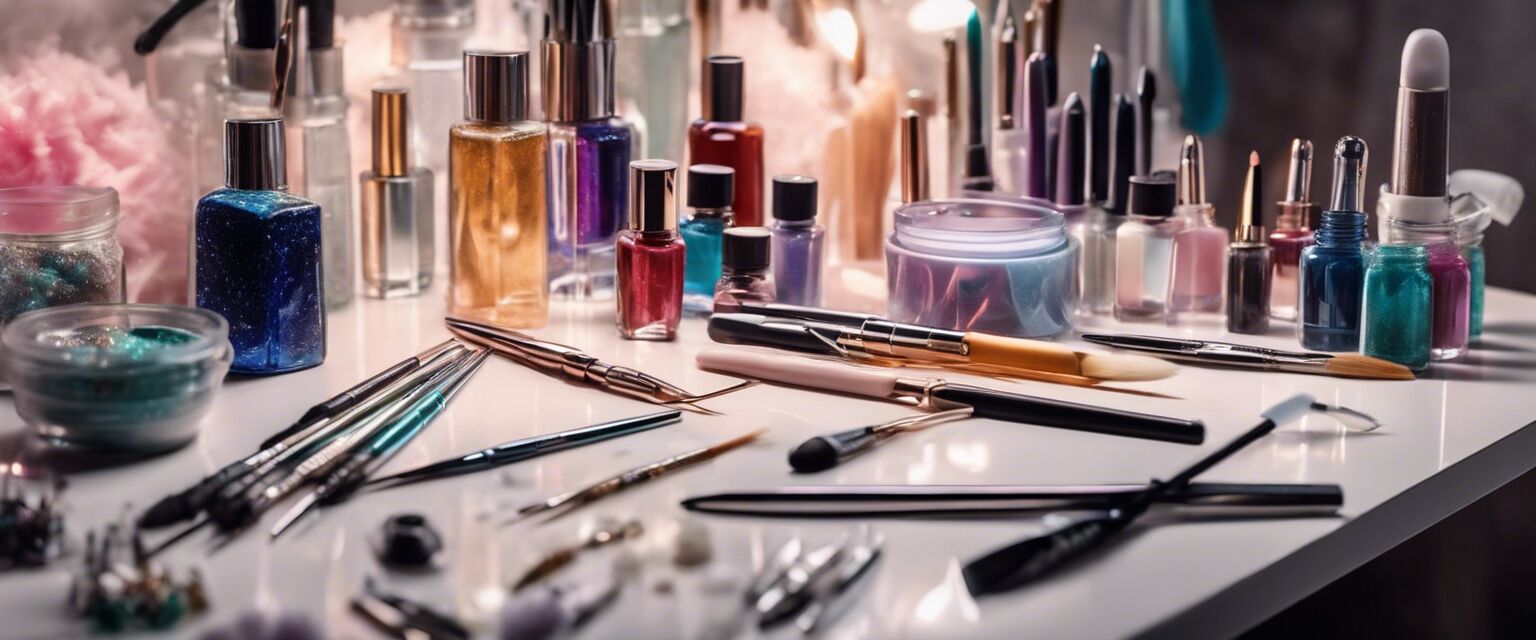
Gel nails require a specific set of tools to ensure the application process is effective and efficient. Below is an overview of the most common tools youâll need:
| Tool | Description | Usage |
|---|---|---|
| LED Lamp | Cures gel polish using LED light. | Used after applying gel polish to harden the layers. |
| Nail Tips | Plastic extensions that can be glued onto natural nails. | Help shape and lengthen the nails. |
| Gel Polish | Special formula polish that requires curing. | Applied like regular polish, but cured under an LED lamp. |
| Nail File | A tool used to shape and smooth nails. | Helps in preparing the nail surface and shaping the tips. |
| Cuticle Pusher | A tool that gently pushes back cuticles. | Prepares the nail bed for polish application. |
Essential Gel Nail Tools
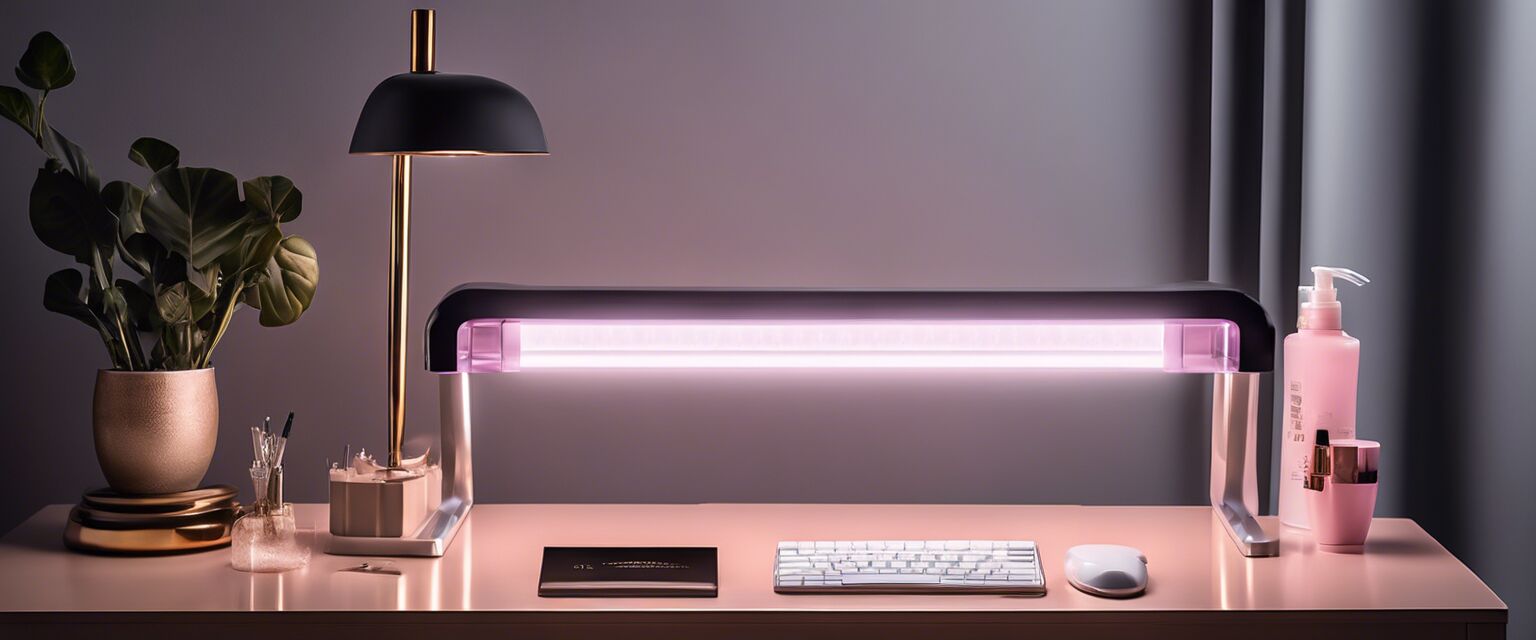
1. LED Lamps
LED lamps are crucial for curing gel nails. They emit a specific wavelength of light that helps set the gel quickly, usually within 30-60 seconds. It is essential to choose a high-quality LED lamp for best results.
2. Gel Nail Tips
Gel nail tips provide the perfect foundation for your nail art. They come in various shapes and sizes, allowing you to create the desired length and style. Proper application helps avoid lifting and enhances durability.
3. Nail Files
A good nail file is essential for shaping and finishing your nails. They come in different grits, with finer grits ideal for smoothing the nail surface after shaping with coarse files.
4. Cuticle Care Tools
Proper cuticle care ensures a clean and professional look. Using cuticle pushers and nippers should be part of your nail care routine.
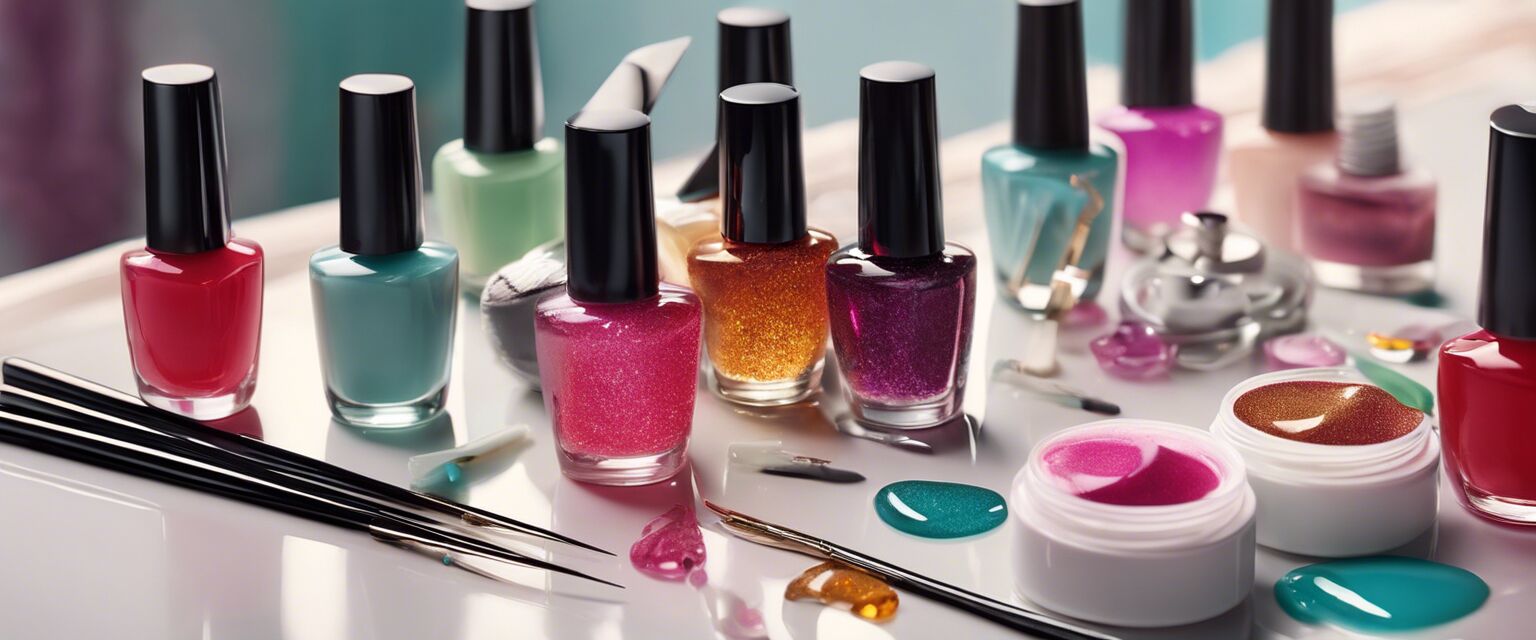
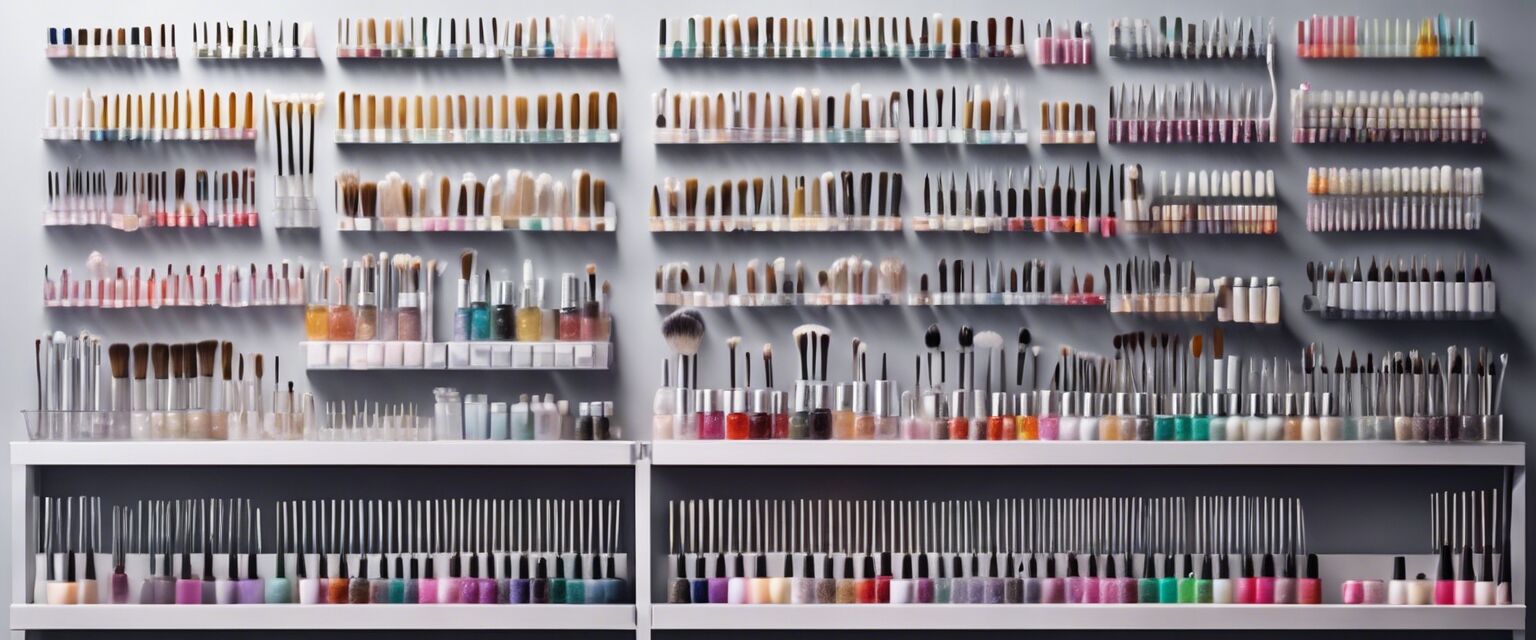
5. Brushes & Applicators
These are essential for applying gels evenly and creating detailed designs. A variety of brushes can be used, depending on the art style you want to achieve.
Tips for Using Gel Nail Tools Effectively
Beginners' Section
- Always read the manufacturerâs instructions for each tool.
- Practice using tools on practice nails before moving to real ones.
- Keep tools clean to ensure longevity and proper functioning.
- Invest in a reliable LED lamp to speed up curing processes.
Maintaining Your Gel Nail Tools
Proper maintenance of your tools is essential to ensure they last longer and perform better. Here are some essential tips:
- Clean your tools with alcohol after each use.
- Store tools in a dry, cool place to avoid rust and deterioration.
- Regularly inspect tools for damage.
- Replace worn-out files and tips promptly to avoid damage to your nails.
Common Mistakes to Avoid
When using gel nail tools, itâs easy to make mistakes. Here are some of the common pitfalls to watch for:
- Not curing the gel polish long enough.
- Applying too thick layers of gel.
- Using worn-out files that can damage natural nails.
- Ignoring cuticle care, leading to uneven application.
Conclusion
Using the right gel nail tools is key to achieving beautiful and long-lasting nails. Following the guidelines above will help you get the best results. For additional resources on gel nail applications, consider visiting our other relevant pages such as Gel Nail Tips, Gel Nails Kits, and Gel Nails Polish.
Pros
- Enhances the appearance of nails significantly.
- Lasts longer than traditional nail polish.
- Allows for creativity with designs and colors.
Cons
- Requires specific tools and products.
- Initial setup costs can be high.
- Mistakes can lead to damage of natural nails.